The Nintendo Switch is a versatile gaming console that you can play on-the-go or connect to your TV for a more immersive gaming experience. By connecting the Nintendo Switch to your TV, you can enjoy playing games on a larger screen and share the fun with friends and family.
In this guide, we will walk you through each step necessary to successfully connect your Nintendo Switch to your TV.

Warp Pipe Weekly
A weekly recap of all things Nintendo
By submitting your email, you agree to our Terms of Service and Privacy Notice. You can opt out at any time.
By submitting your email, you agree to our Terms of Service and Privacy Notice. You can opt out at any time.

How to Connect Nintendo Switch to TV
Before we begin, it's important to outline the seven steps required to hook up your switch to the TV.
Step 1: Gather Your Materials
Step 2: Locate HDMI Port on TV
Step 3: Connect HDMI Cable to TV
Step 4: Connect Dock to Nintendo Switch
Step 5: Turn on TV and Nintendo Switch
Step 6: Select HDMI Input on TV
Step 7: Configure Nintendo Switch Settings
Read on for a detailed step-by-step breakdown on how to hook up your Nintendo Switch for gameplay on your TV. We feel confident you'll be gaming in no time after reading our guide!
Step-by-Step Guide to Set up Nintendo Switch to TV
Step 1: Gather Your Materials
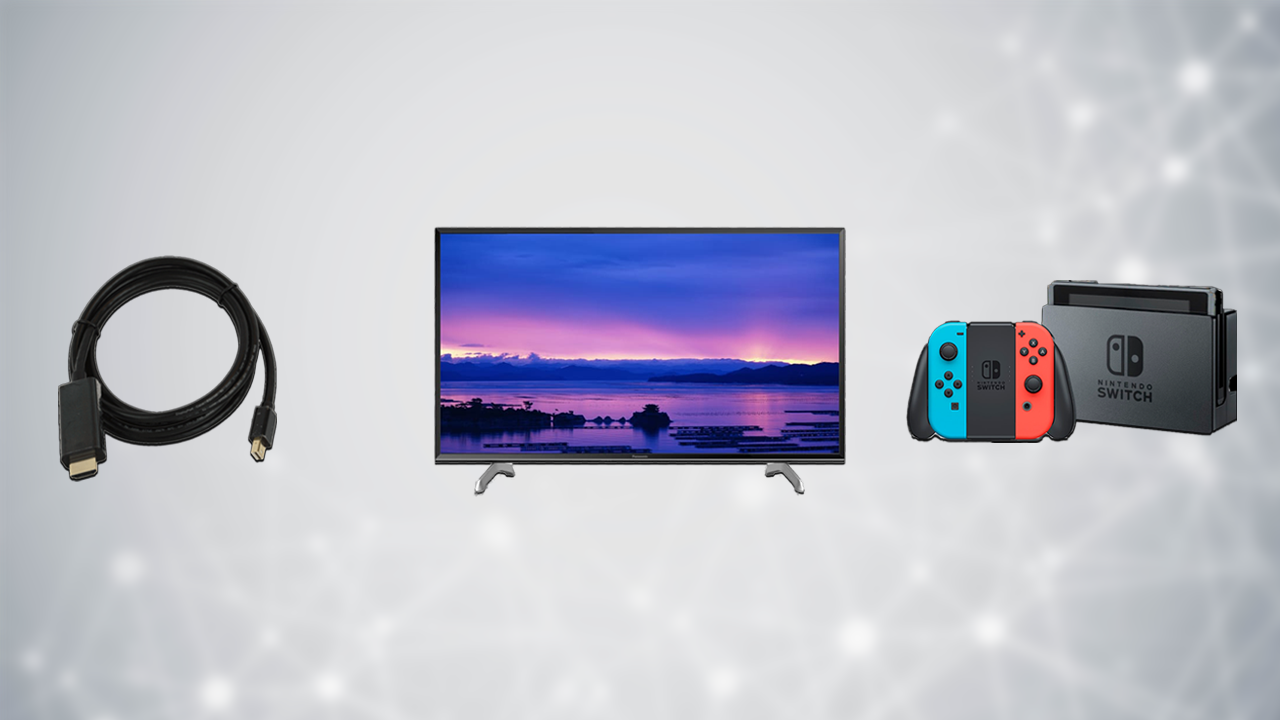
Before diving into the process to connect your Nintendo Switch to the TV, it's essential to gather all the necessary materials. Having everything at hand will ensure a smooth and hassle-free setup experience. You will need the following items:
HDMI cable: This cable is responsible for transmitting audio and video signals from your Nintendo Switch dock to your TV. This is required to properly setup your Switch to TV.
TV: A television with an HDMI input port to connect the Nintendo Switch. With the smallest exception, the vast majority of televisions in production today will have an HDMI input port, allowing you to successfully connect your Switch.
Nintendo Switch: Your gaming console, along with its dock and power adapter.
Once you have all these materials ready, you can proceed to the next step of locating the HDMI port on your TV.
Step 2: Locate HDMI Port on TV
Before connecting your Nintendo Switch to your TV, it's essential to know where the HDMI port is located. An HDMI (High-Definition Multimedia Interface) port is a standard audio and video interface that allows you to transmit uncompressed digital signals between devices, such as your Nintendo Switch and TV.
To locate the HDMI port on your TV, follow these steps:
Turn off your TV: It's safer to search for ports you'll use to hook up your Nintendo Switch with the TV turned off.
Inspect the back or side of your TV: Most modern TVs have their HDMI ports located at the back or on the side. Look for a rectangular slot labeled "HDMI."
Count the available ports: Some TVs have multiple HDMI ports, so make a note of which one you'll be using to connect your Nintendo Switch.

With the HDMI port located, you're ready to connect the cable and proceed with the setup process.
Step 3: Connect HDMI Cable to TV
Now that you've located the HDMI port on your TV, it's time to connect the HDMI cable. This step is essential in order to establish a connection between the TV and the Nintendo Switch dock. Follow these simple steps:
Plug one end of the HDMI cable into the HDMI port on your TV: Ensure that the cable is securely inserted into the port.
Connect the other end of the HDMI cable to the Nintendo Switch dock: On the back of the Nintendo Switch dock, locate the HDMI OUT port and plug in the other end of the HDMI cable.
Note: Make sure that both ends of the HDMI cable are inserted correctly and securely to avoid any connectivity issues.
After successfully connecting the HDMI cable between your TV and Nintendo Switch dock, proceed to Step 4.
Step 4: Connect Dock to Nintendo Switch
The Nintendo Switch dock serves as a charging station and allows you to display your games on a larger screen, such as your TV. Connecting the dock to your Nintendo Switch console is simple:
Ensure that the Nintendo Switch is powered off.
Orient the console with the screen facing towards the dock.
Gently slide the console into the dock until it clicks into place.
Remember to be careful when inserting your Nintendo Switch into the dock to avoid scratching the screen or damaging the device.
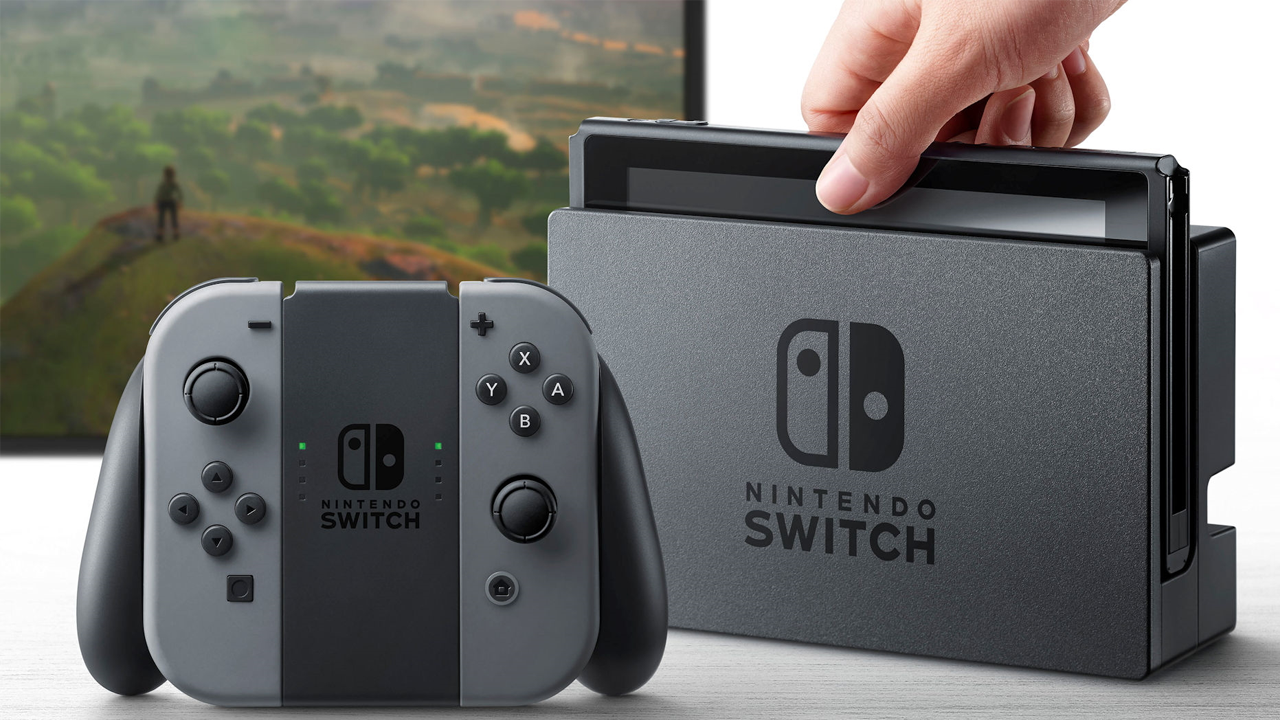
Once your Nintendo Switch is securely connected to the dock, you're ready for the next step in connecting it to your TV.
Step 5: Turn on TV and Nintendo Switch
Now that everything is connected, it's time to power on your devices. First, turn on your TV using the remote control or the power button on the TV itself. Next, press the power button located on the top of your Nintendo Switch console. The button has a small circle with a line through it, making it easy to identify.
Turn on your TV.
Press the power button on your Nintendo Switch console.

With both devices powered up, you're ready to move on to selecting the correct HDMI input on your TV for the Nintendo Switch.
Step 6: Select HDMI Input on TV
An HDMI input is the connection point for high-definition multimedia devices, such as your Nintendo Switch, to your TV. To display the Nintendo Switch on your TV screen, you will need to select the corresponding HDMI input.
To select the HDMI input on your TV:
Grab your TV remote and find the button labeled Input, Source, or a similar term.
Press this button to bring up a list of available inputs on your TV screen.
Navigate through the list using the arrow buttons on your remote until you find the HDMI input where you connected the Nintendo Switch.
Select the appropriate HDMI input by pressing the Enter or OK button on your remote.
Your TV should now display the Nintendo Switch home screen. If not, double-check that all connections are secure and that both devices are powered on.
Step 7: Configure Nintendo Switch Settings
The last step to successfully hook up your Nintendo Switch to the TV is adjusting the settings for an optimal viewing experience. The Nintendo Switch settings menu offers various options such as screen resolution, audio output, and more. Follow these steps to configure the settings:
Access the Settings Menu: On the Nintendo Switch home screen, navigate to and select the System Settings icon, which resembles a gear.
Adjust Screen Resolution: Under the TV Output category, choose TV Resolution. Select the appropriate resolution (720p, 1080p, or Automatic) based on your TV's capabilities.
Configure Audio Output: Go to TV Sound within the same category and choose either Automatic, Stereo, or Mono depending on your preference.
Feel free to explore other options within the settings menu to further personalize your gaming experience.
Conclusion
You are now equipped with the knowledge to hook up your Nintendo Switch to the TV in just a few simple steps! To summarize:
Gather your materials
Locate the HDMI port on your TV
Connect the HDMI cable to the TV
Connect the dock to the Nintendo Switch
Turn on both devices
Select the HDMI input on your TV
Configure Nintendo Switch settings for optimal viewing
Should any issues arise during this process, don't hesitate to consult the user manual or reach out to Nintendo's customer support for assistance. Enjoy gaming on your big screen and get ready for an immersive experience!
